Introduction
Blazor Web Assembly (WASM) is an SPA framework, meaning that once compiled, apps can be deployed to static website hosts like S3, eliminating the need to keep a permanent EC2 instance running, and thus reducing infrastructure costs. We'll be following standard practices using SSL, CloudFront and linking the application to a custom domain, but these step aren't necessary if all you want is basic static website hosting.
Assumptions
- Basic familiarity with C# and .NET
- Administrative access to an AWS account
- Basic familiarity with AWS services
- Familiarity with SSL and DNS
Table of Contents
Create and publish a simple Blazor WASM app
We'll just keep things simple for this step and use the standard template generated by Visual Studio.
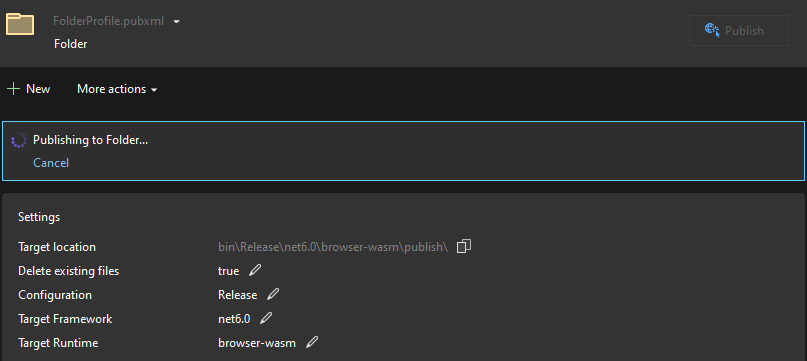
Open up VS and create a new Blazor WASM project, ensuring "hosted" is not selected as we will not be deploying any server-side code. Then build and run the project to check the boilerplate behaviour is working as expected. Finally, right click the project and Publish to a local folder.
Create an S3 bucket and upload files
Log into AWS, navigate to S3 and create a new bucket called whatever your website's domain name will be (e.g. "example.com") - leave the other settings as default for now and hit .
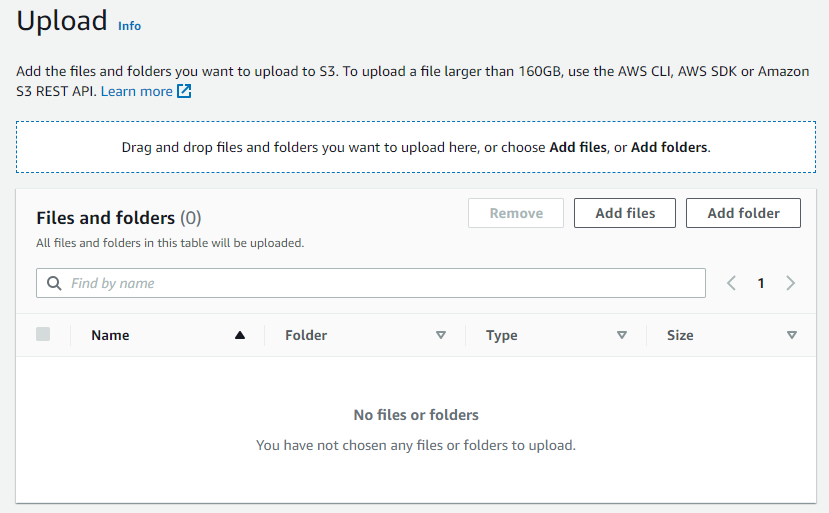
Select the new bucket, click , then drag the contents of the published "wwwroot" directory into the upload window - this may take a few minutes as there are a lot of files to process.
Go to bucket Permissions tab, and under the "Block public access" section, hit and uncheck "Block all public access".
Scroll down to "Bucket policy" and add the following JSON, replacing "Bucket-Name" with the name of your new bucket (e.g. "example.com")
{
"Version": "2012-10-17",
"Statement": [
{
"Sid": "PublicReadGetObject",
"Effect": "Allow",
"Principal": "*",
"Action": [
"s3:GetObject"
],
"Resource": [
"arn:aws:s3:::Bucket-Name/*"
]
}
]
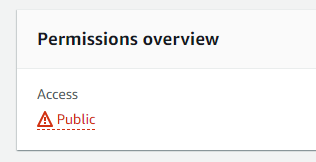
}Finally, scroll down to "Object Ownership" and ensure "ACLs disabled" is selected. These steps are key to ensuring your bucket objects are accessible to website visitors. Scroll up to the top of this section and you should see this warning:
Next, go to the bucket Properties tab, scroll all the way to the end section "Static website hosting", hit , and ensure "Static website hosting" is enabled, and "Host a static website" is selected as the hosting type, then hit .
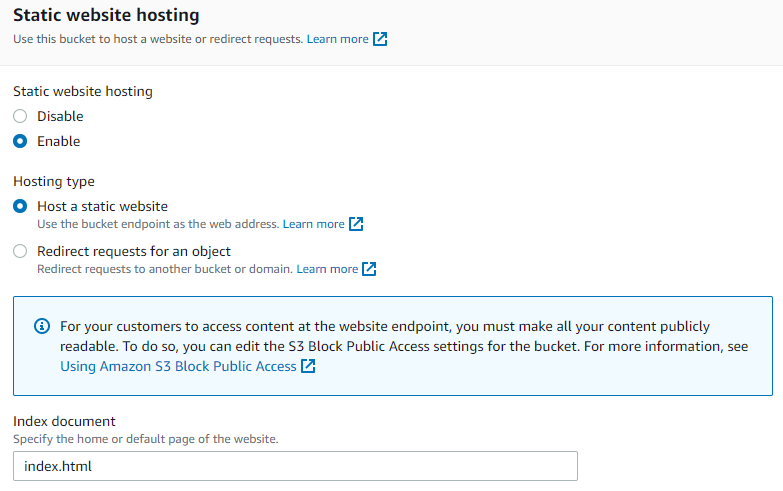
Your website should now be publicly accessible, and can be verified by navigating the bucket's endpoint shown in the same "Static website hosting" section of the bucket properties.
You can stop here if you like, but if you're hosting a proper website you'll want to ensure the bucket is fronted by a CloudFront distribution, allows secure SSL connections, and can be navigated to via a more friendly domain name - we'll look at these next.
Generate an SSL certificate
AWS lets you create and manage certificates for free for applications managed using their services.
Navigate to Certificate Manager, ensure you're in the us-east-1 (N.Virginia) region and hit . Select "Request a public certificate" when prompted. On the next step, the fully qualified domain name (FQDN) depends on your needs. If you plan to use the same certificate for any subdomains associated with your domain, then you can input your FQDN in the format "*.domain.tld", adding an additional name of "domain.tld" (e.g. *.example.com and example.com).
Choose DNS validation, and select RSA 2048 encryption for the other options and hit .
Once created, go to verify and select , then wait a few moments for the process to complete.
Create a CloudFront distribution
CloudFront lets you manage the delivery and caching of the static assets stored in S3 by allowing them to be distributed across the globe, thus reducing the latency penalties typically associated with hosts which are isolated to a single region.
Navigate to CloudFront, and click . Going down the page of settings:
| Property | Value |
|---|---|
| Origin domain | paste the S3 endpoint (don't use S3 bucket drop down) as the origin domain |
| Viewer protocol policy | Redirect HTTP to HTTPS |
| Alternate domain name (CNAME) | add alternate domain names of *.domain.tld and domain.tld (these are needed for Route53 alias selection) |
| Custom SSL certificate |
|
Create a Route53 hosted zone
This part of the guide assumes you have a domain name registered, either with AWS or with another registrar. If you want to register a new domain with AWS as part of this process, you can check the availability of your desired domain name and purchase directly via the dashboard. I have no affiliation with AWS, but if you intend to continue using AWS resources for your hosting, I recommend buying through them to make future configurations simpler. There is one limitation which I've come across, which is that .dev domains such as this one are not currently supported, so I have this particular domain registered elsewhere.
Anyways, navigate to Route53, then Hosted zones. Create a new hosted zone for your domain if you don't already have one and add the following records:
| Property | Value |
|---|---|
| A | domain, target CloudFront distribution |
| CNAME | *.domain, target CloudFront distribution |
The selection box may not auto populate, but you can paste in domain name from your new distribution properties.
Once this step is complete, and the DNS has had time to propagate, you should be able to navigate to your new static website using your domain name.